
The Process: Creating a custom order
Today I’m going to cover a question that I get asked quite frequently: What is my actual “process” for creating a custom jewelry piece.
To answer, I’ll get pretty specific by using a recent example.
1.How long does it take:
Between 5 to 10 business days. The necklace used for this post took exactly 10 days from beginning to end.
2.Getting Information/Inspiration:
The more information I get about the person (for whom this piece will be made), the more (beautifully) challenging it becomes for obvious reasons.
This particular necklace was commissioned by a group of colleagues who wanted a very special retirement gift for their (amazing!) high executive Manager. I had quite a bit of information:
- Favorite colors: Purple and red.
- Theme: The necklace needed to somehow celebrate her career with the company.
- Words: The team wanted to have a few words reflected(somehow) into the design.
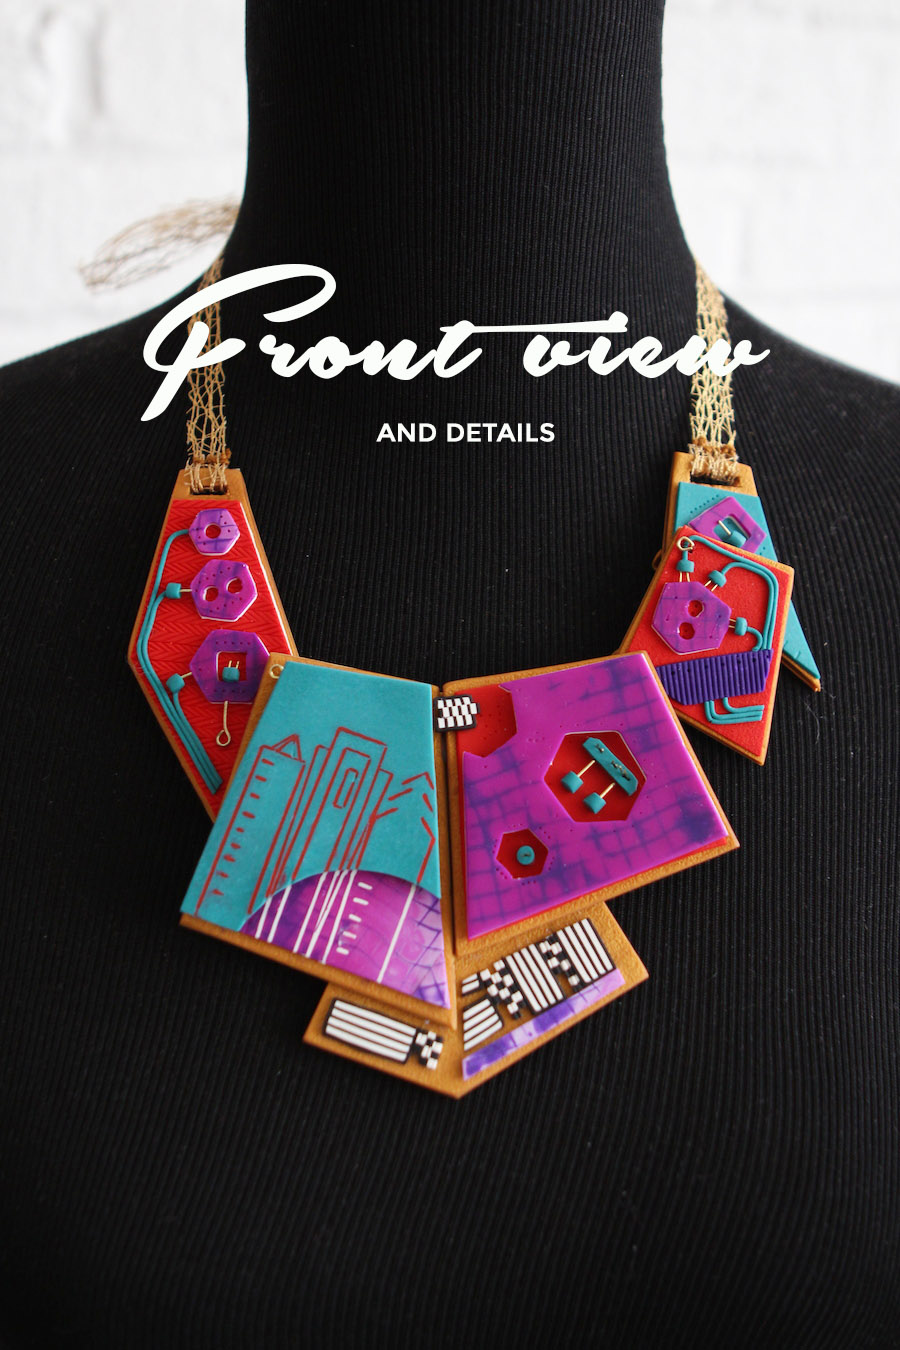
- Size and style: Large, statement necklace, with a contemporary/fun/unique look and feel. She likes to be “surprised”.
3. Design:
Within a time-frame of 10 days if there is more inspiration information than colors and style, the design phase can take up to 4 days. A design begins with (a)deciding the full color palette, (b)followed by sketching several ideas on paper, (c)and (when necessary) by creating several very basic/rough prototypes in clay to try out new techniques and shapes that may look lovely on paper, but may not work in real life. Below you’ll see these stages (and the in-between steps) for our recent custom necklace.
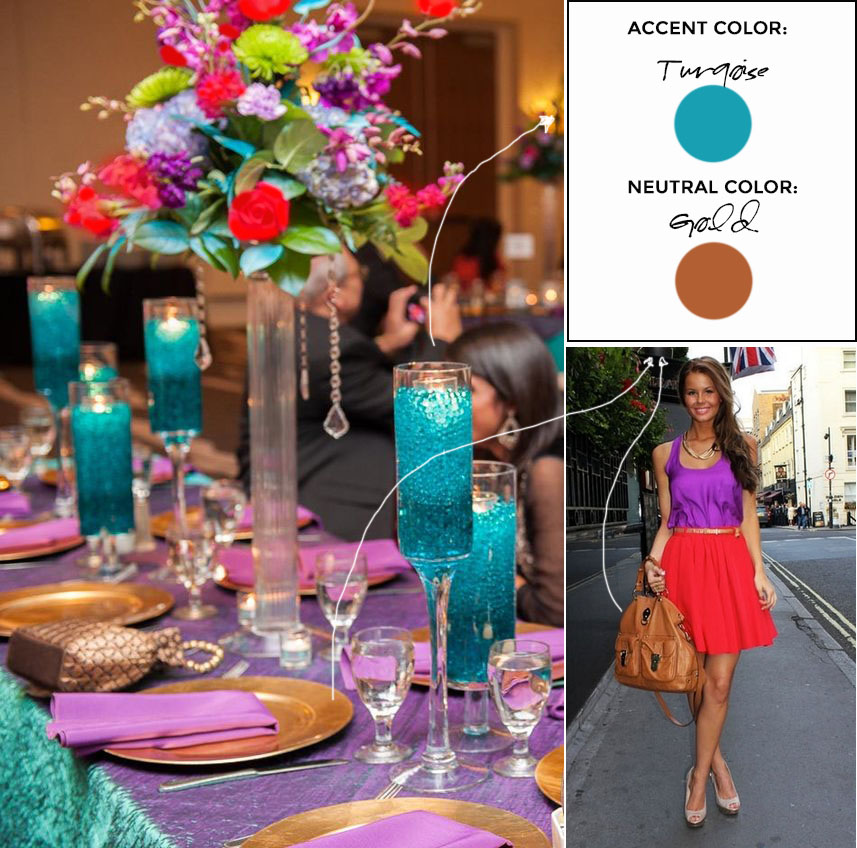
(a)Choosing the full Color Palette: Besides the main colors (red and purple in this case), I need to decide which other “complementary” colors will be part of it. I can spend up to a few hours researching color-combinations that work with red and purple primarily online. If I have the time, I like to visit a handful of flower shops, fabric shops, clothing boutiques and even interior design stores for ideas. The two images you’ll see below served as inspiration for choosing our complementary colors:
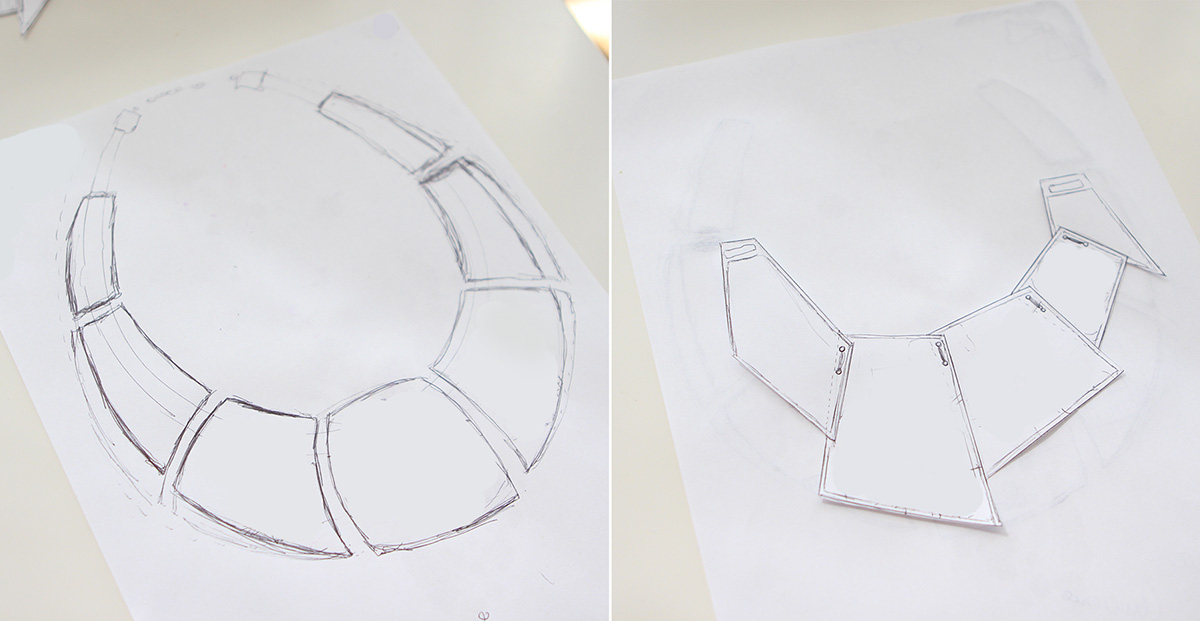
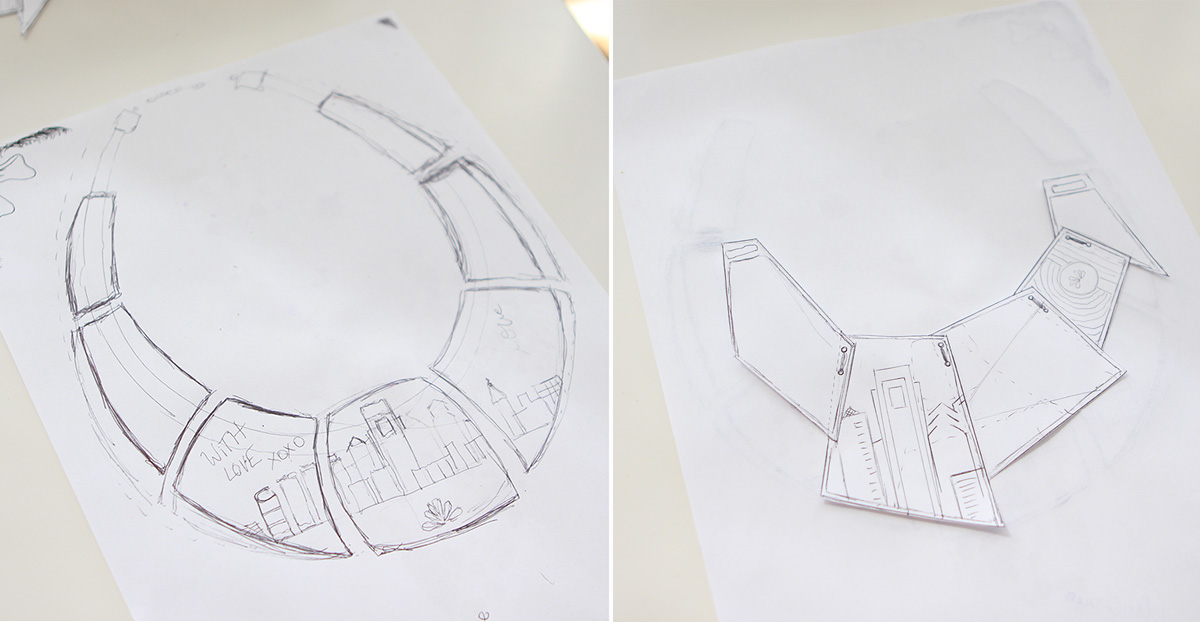
(b)Design Sketches: Anytime the inspiration goes beyond just esthetics (colors, style, size) and becomes more about “meaning“, I almost immediately know that the necklace will be made of “flat” or “curved” shards of some shape (instead of round BEADS). A shard provides a generous surface to imprint symbols, patterns, texture that better help telling a story. Beads are more limiting for story-telling. Here are the 2 initial designs I came up with:
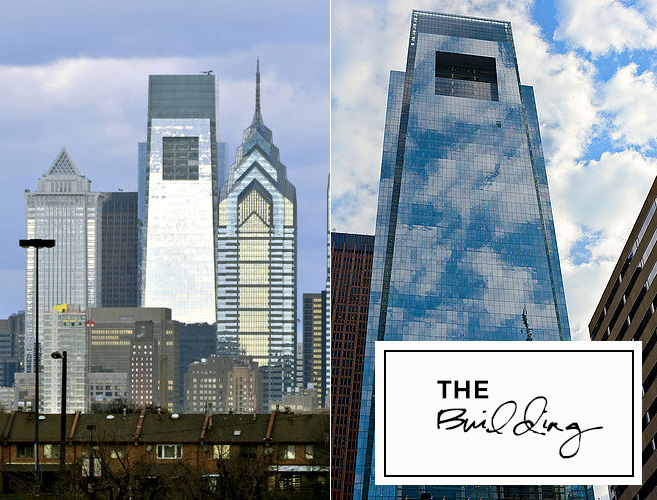
-Choosing Symbols: What am I going to create to cover these generous shards? I brainstorm ideas by creating a list of symbols/images that come to mind when thinking about the inspiration information I received. In this case, I made a list of symbols about her career and the company she works for:
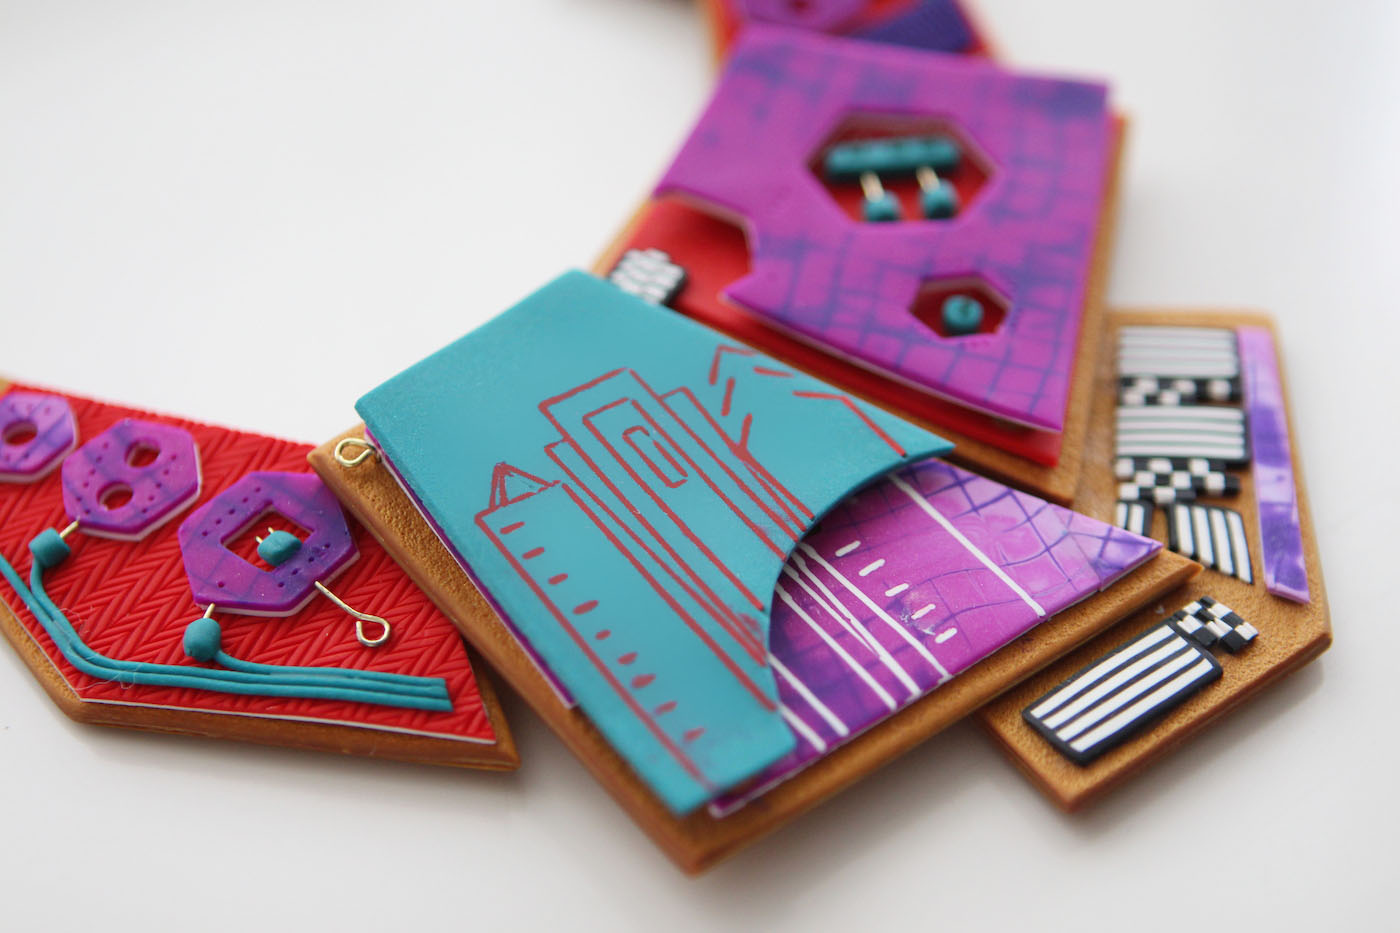
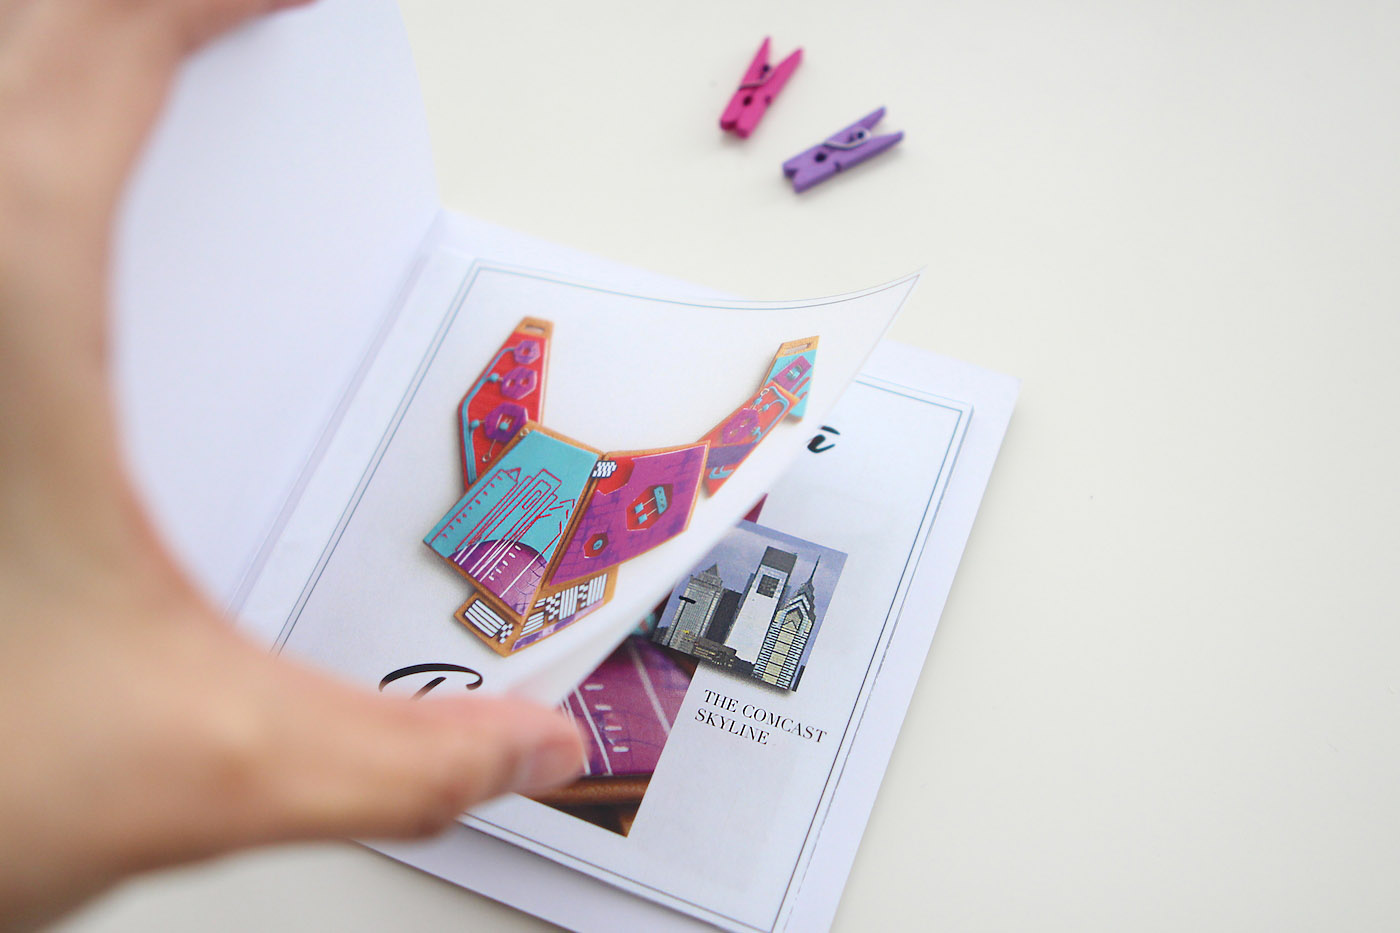
- Symbol #1: I immediately thought of the Company’s building that she works for. It’s not only incredible, but anyone who’s been to Philadelphia knows that it’s a landmark in its skyline.
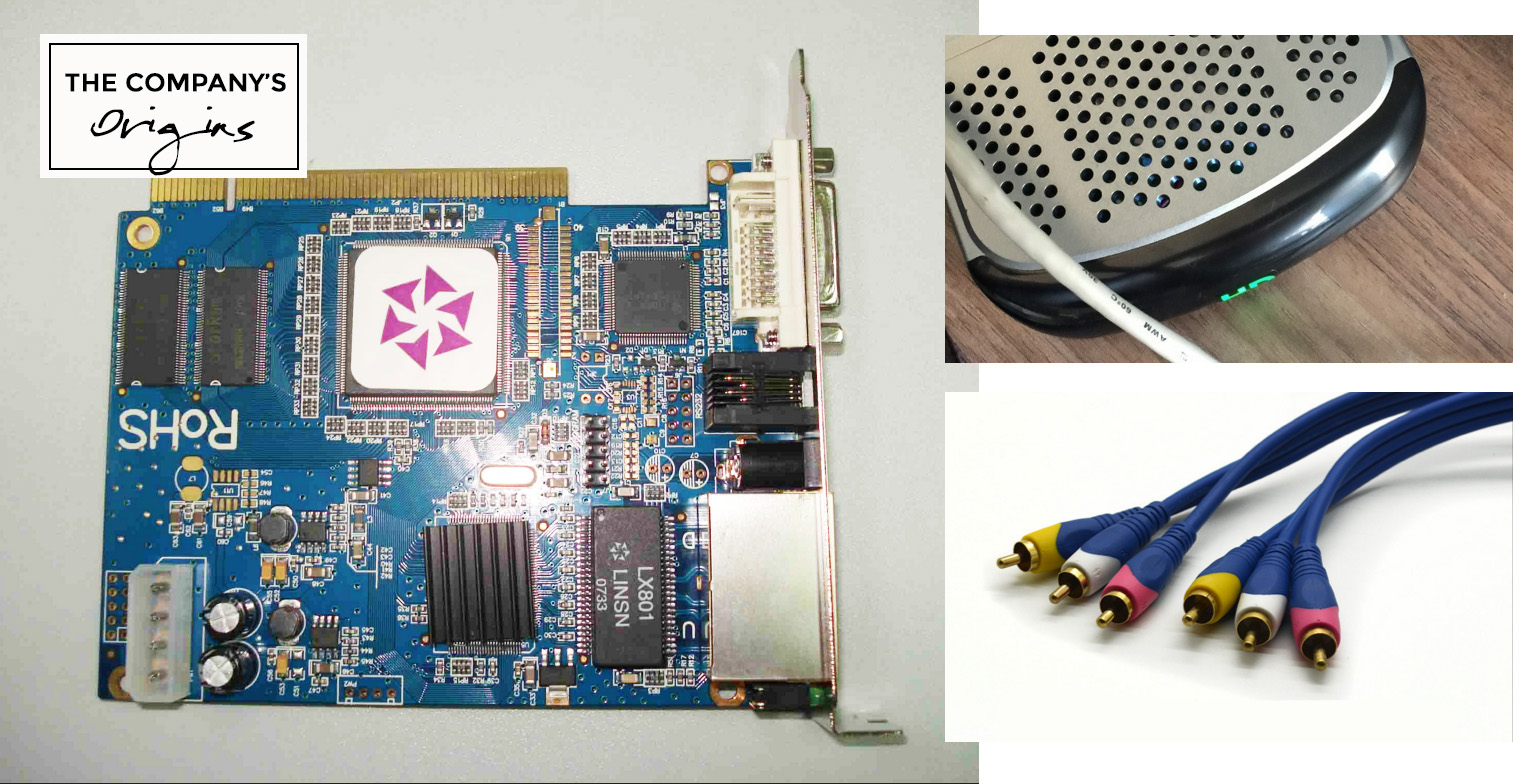
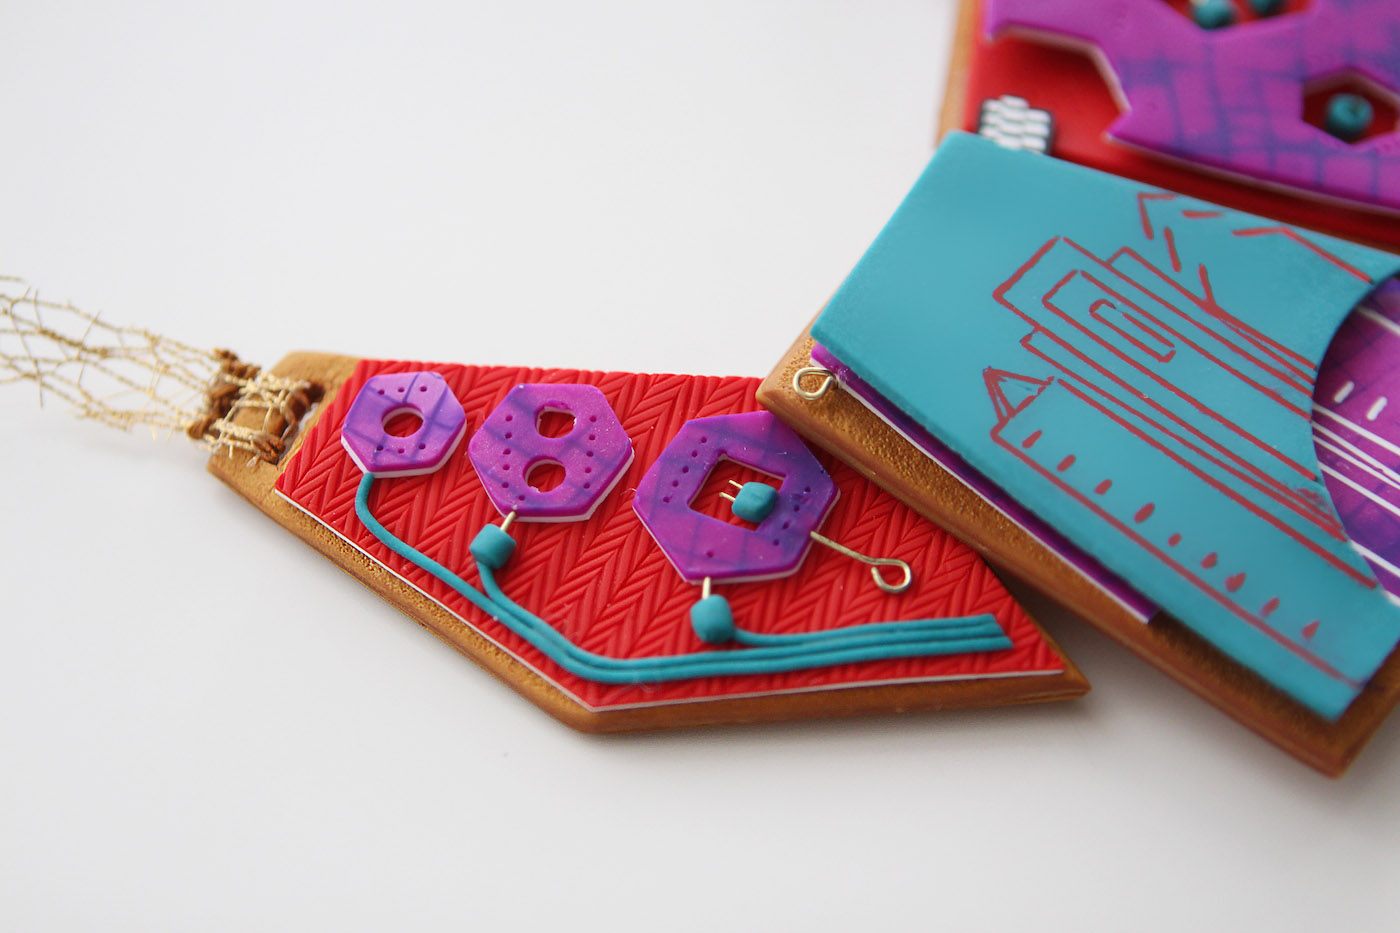
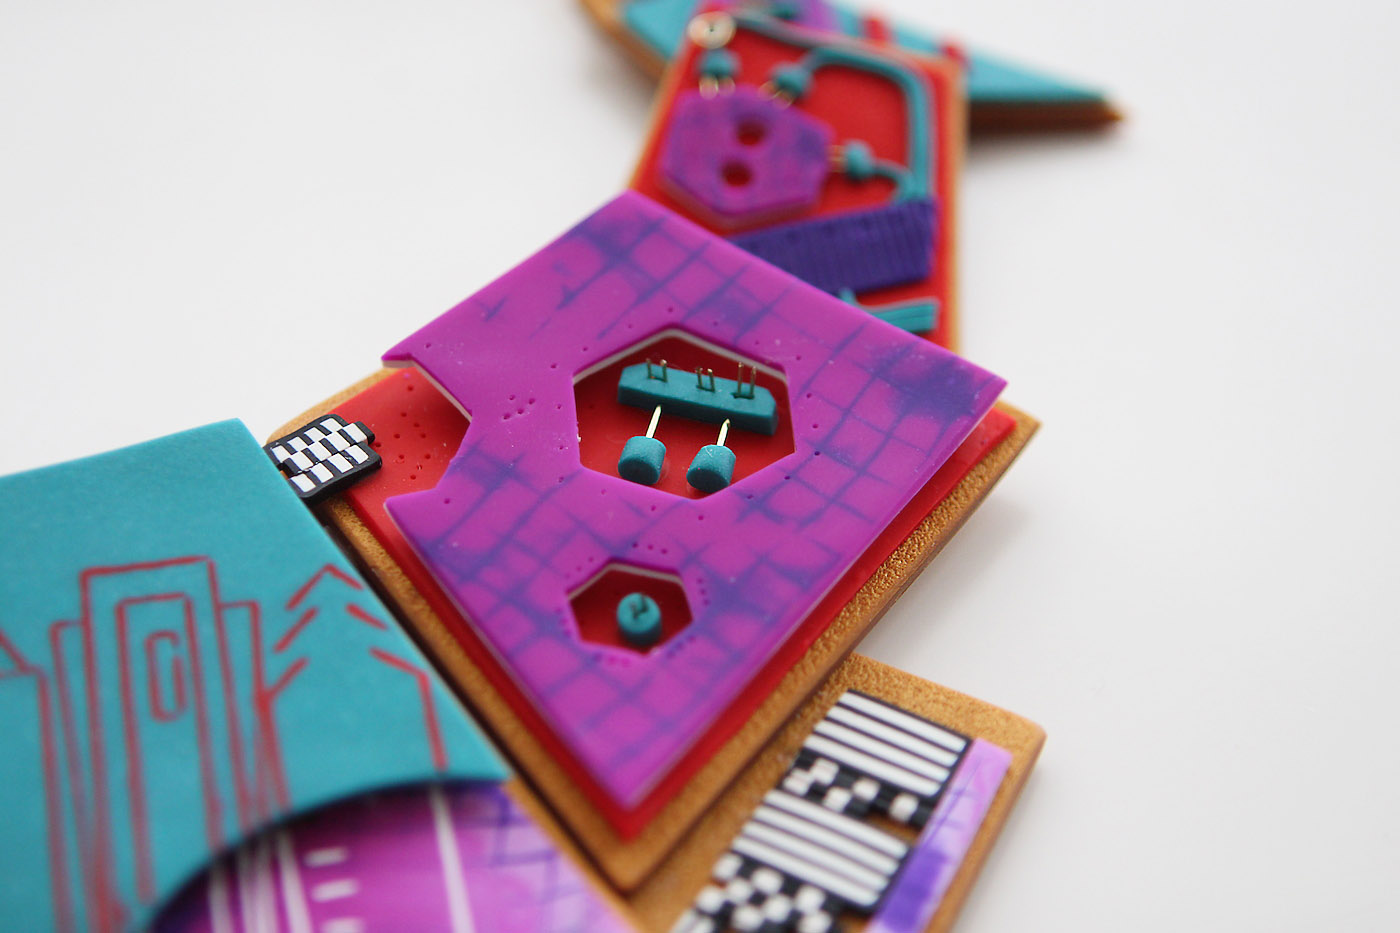
- Symbol #2: Knowing that she had been with the company for many years, I decided to incorporate symbols of how the company started. It’s origins. In this case, it’s all about hardware, tv controls, modems, cables, etc.
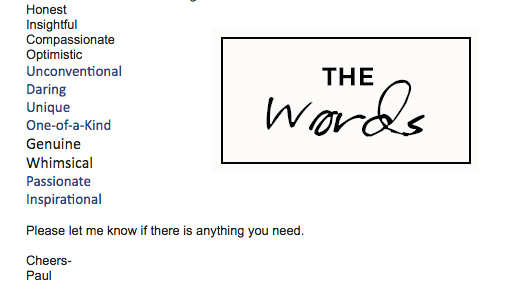
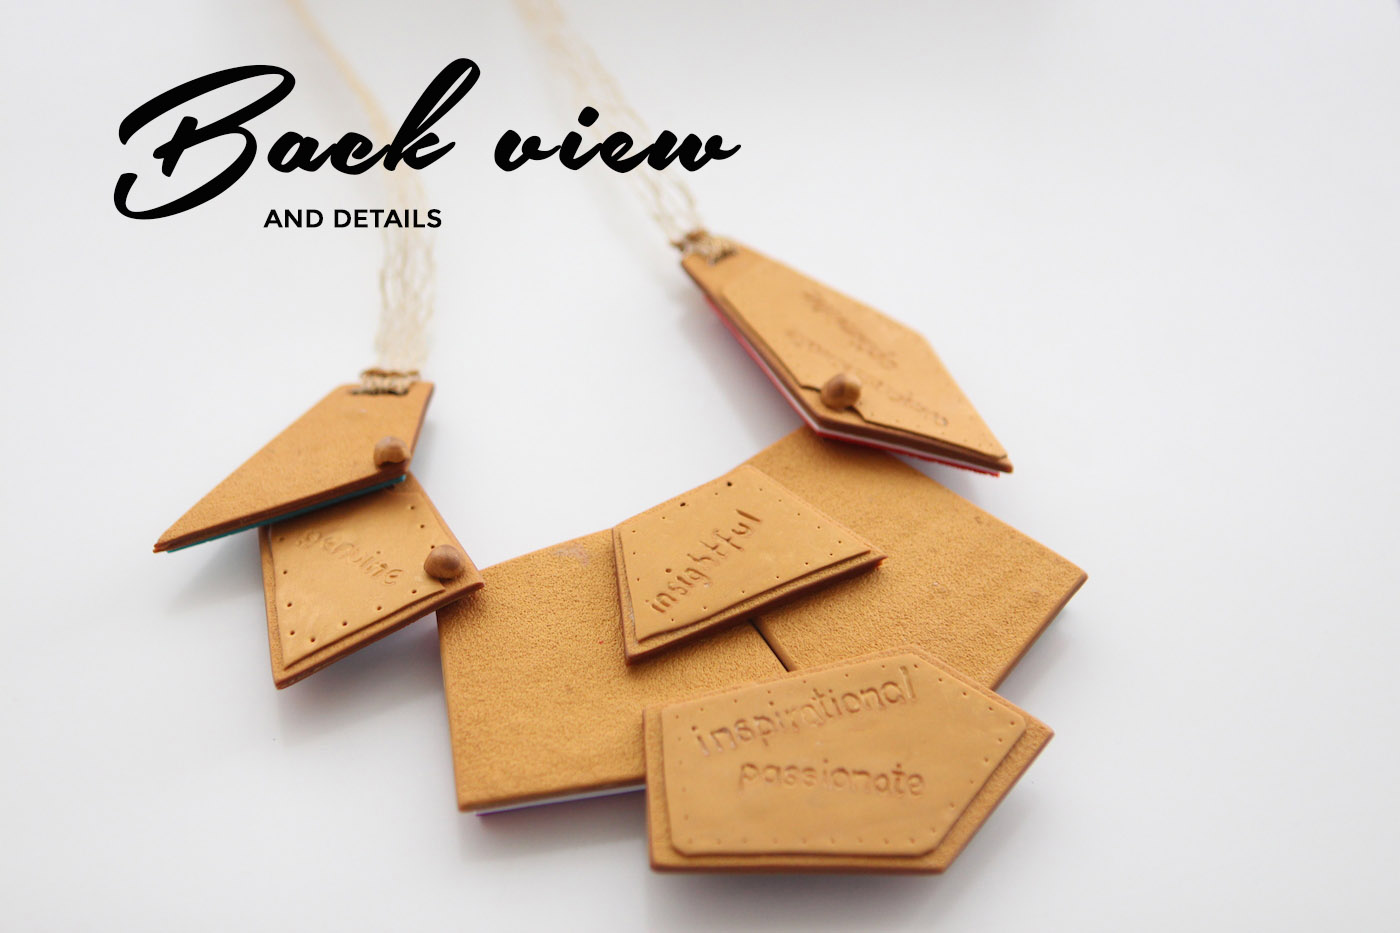
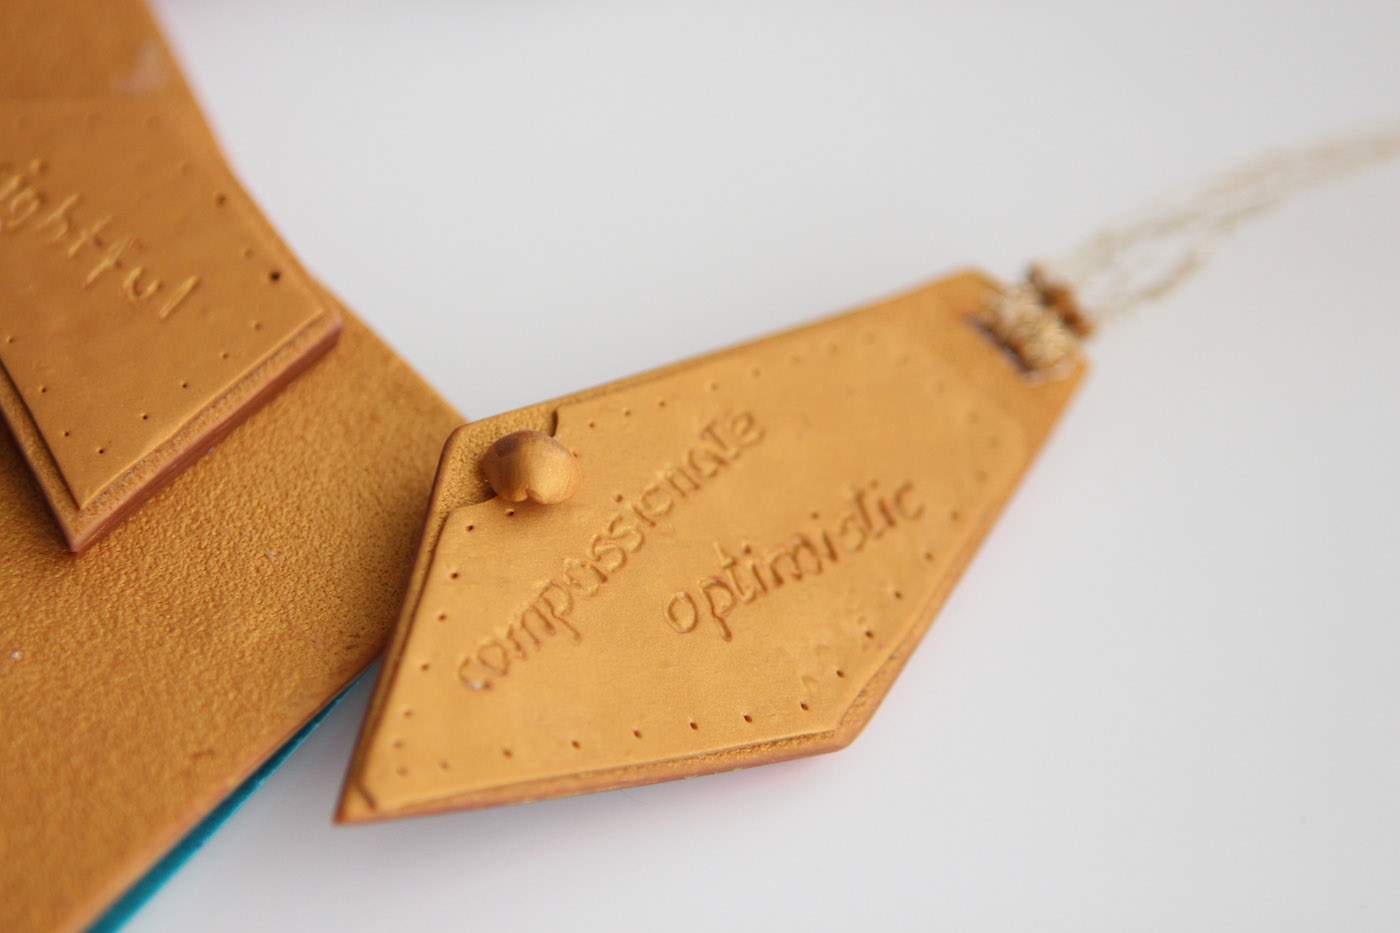
- Symbol #3: Words. I was given a beautiful list of words that her team wanted me to incorporate somehow:
-Updating my sketches with some of the symbols: At this point I need to decide how the “main” shard will look like. Based on that, the remaining shards will be filled with symbols and colors that complement it.
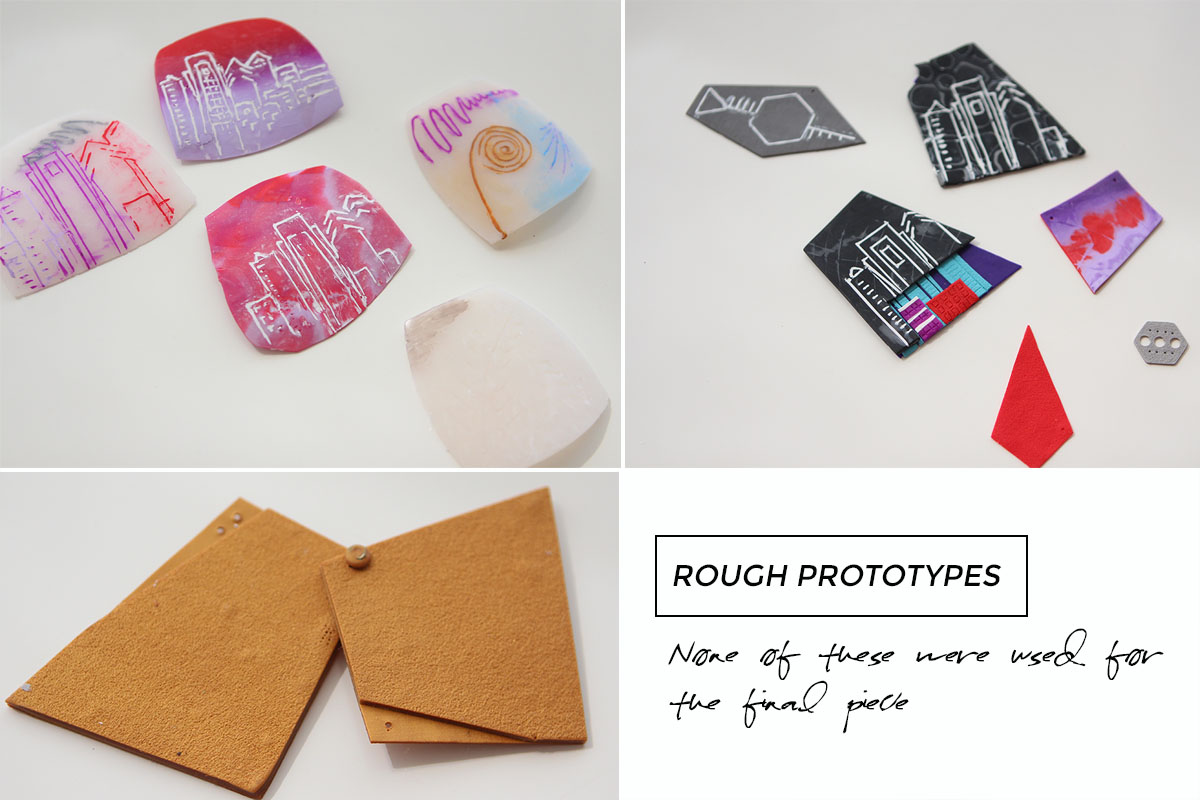
(c)Rough Prototyping: This is all about testing techniques, styles, shapes, size, play with alternative neutral colors, etc. This also helps me decide once and for all which of the designs I will move forward with. Everything is pretty “rough” but very clarifying for me, and none of these pieces are meant to be used in the final necklace.
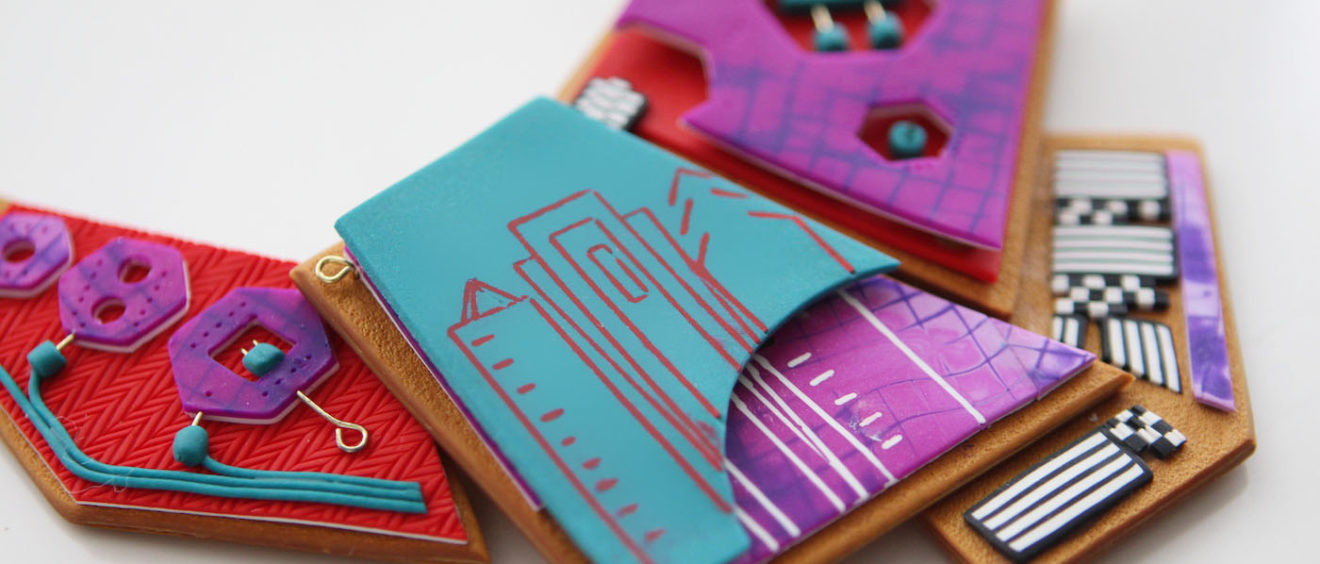
4.Creation:
The actual creation of the final necklace begins on day 5.
At this point, I’ve made the “key” decisions for the final design (shape, colors, symbols for the main shard), but the details for the remaining shards are not 100% clear and set in stone. They will unveil themselves as I go. I like to have 5 days so that I CAN change my mind if needed.
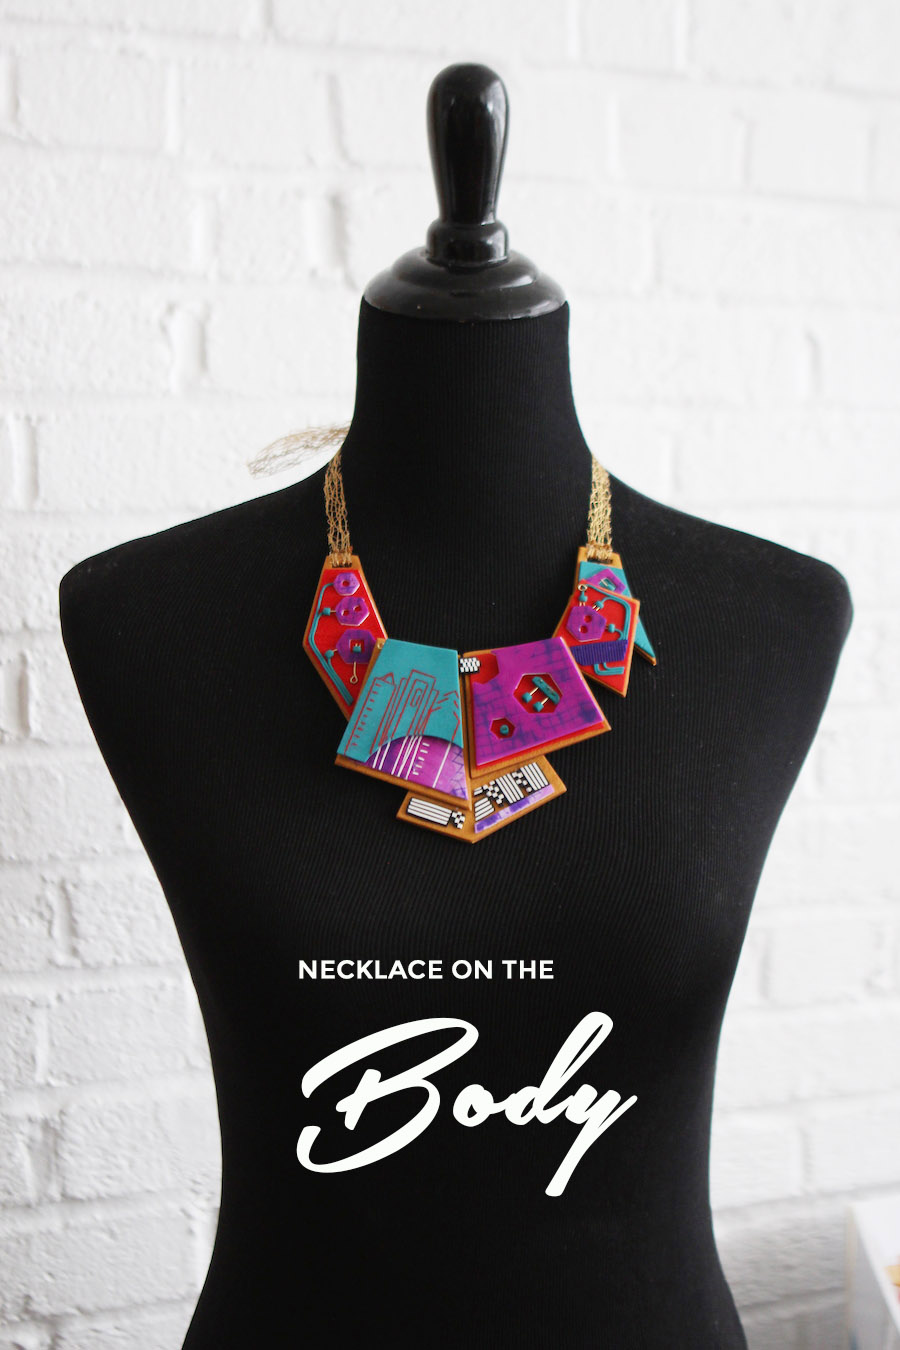
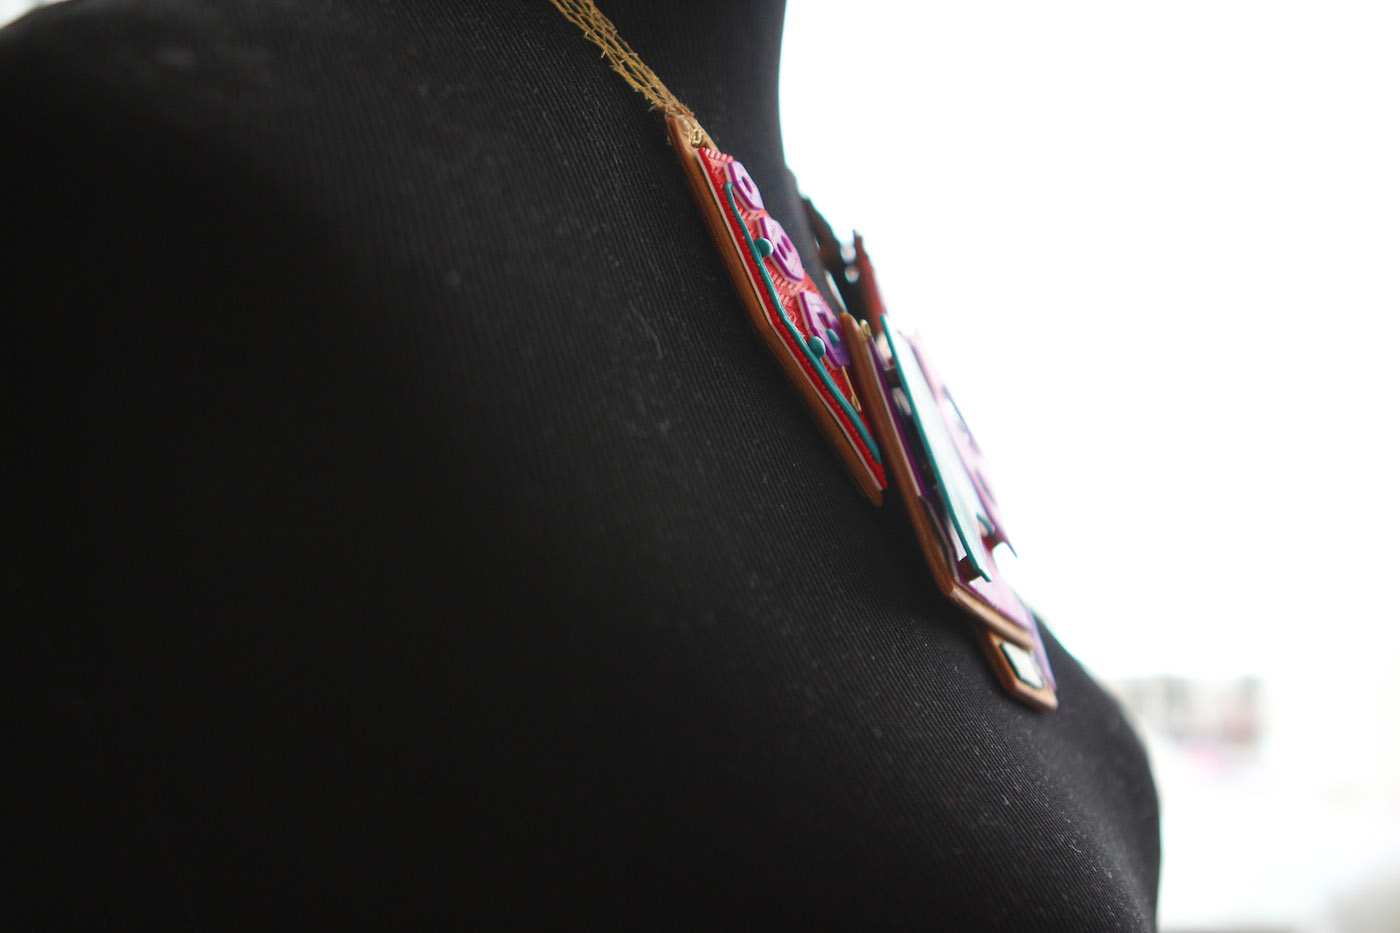
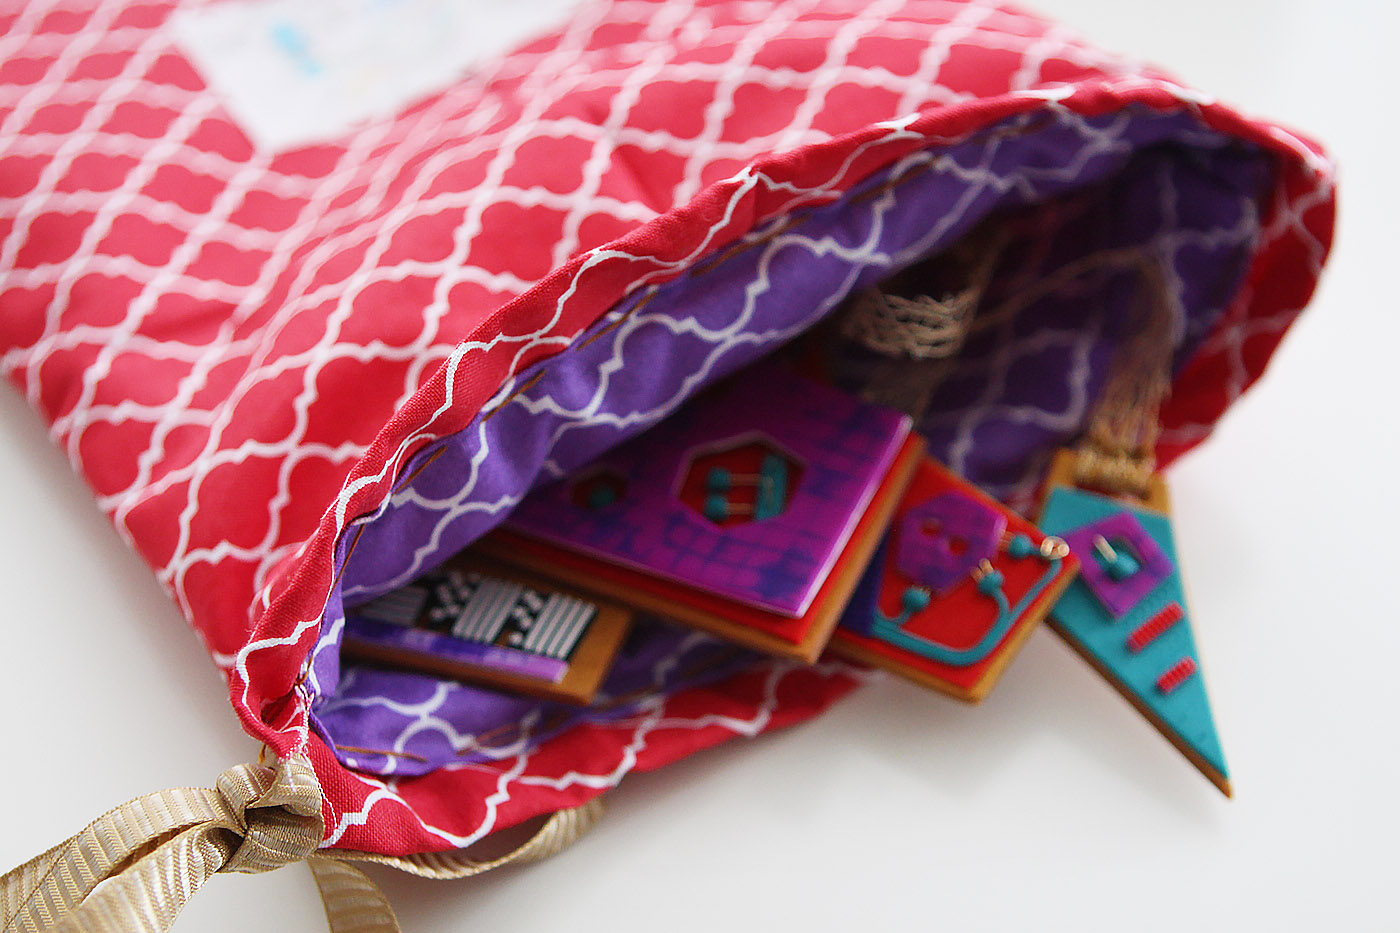
After several adjustments, changes, repetitions, scroll below to see how the necklace turned out!
5.Custom Packaging
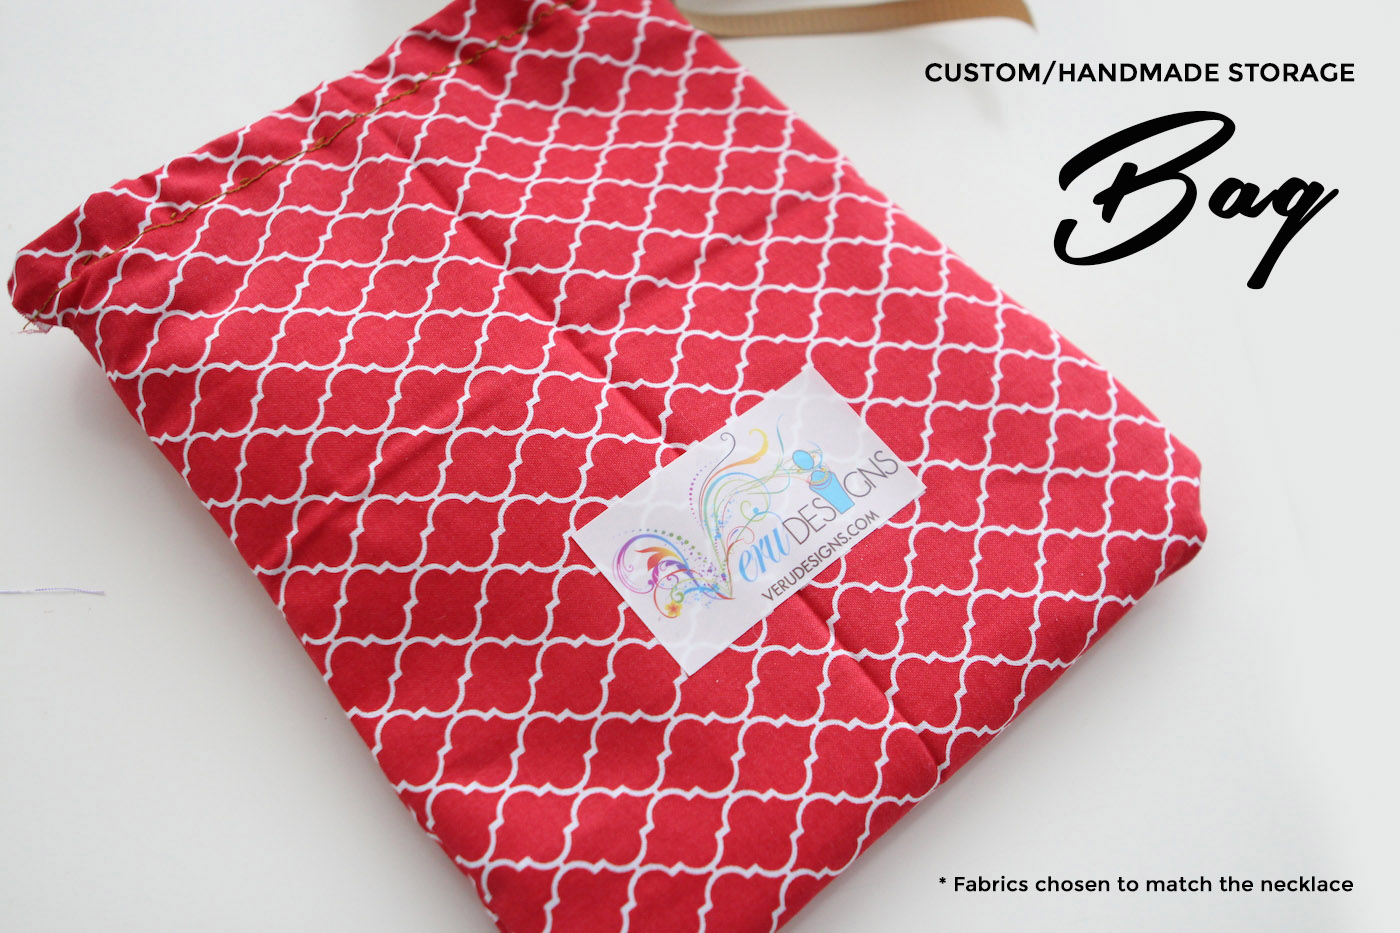
The packaging is also 100% custom made. It includes a “padded” jewelry bag, made with fabrics that match the necklace, as well as a tiny magazine that explains the inspiration and provides a personalized message. Packaging begins on day 8.


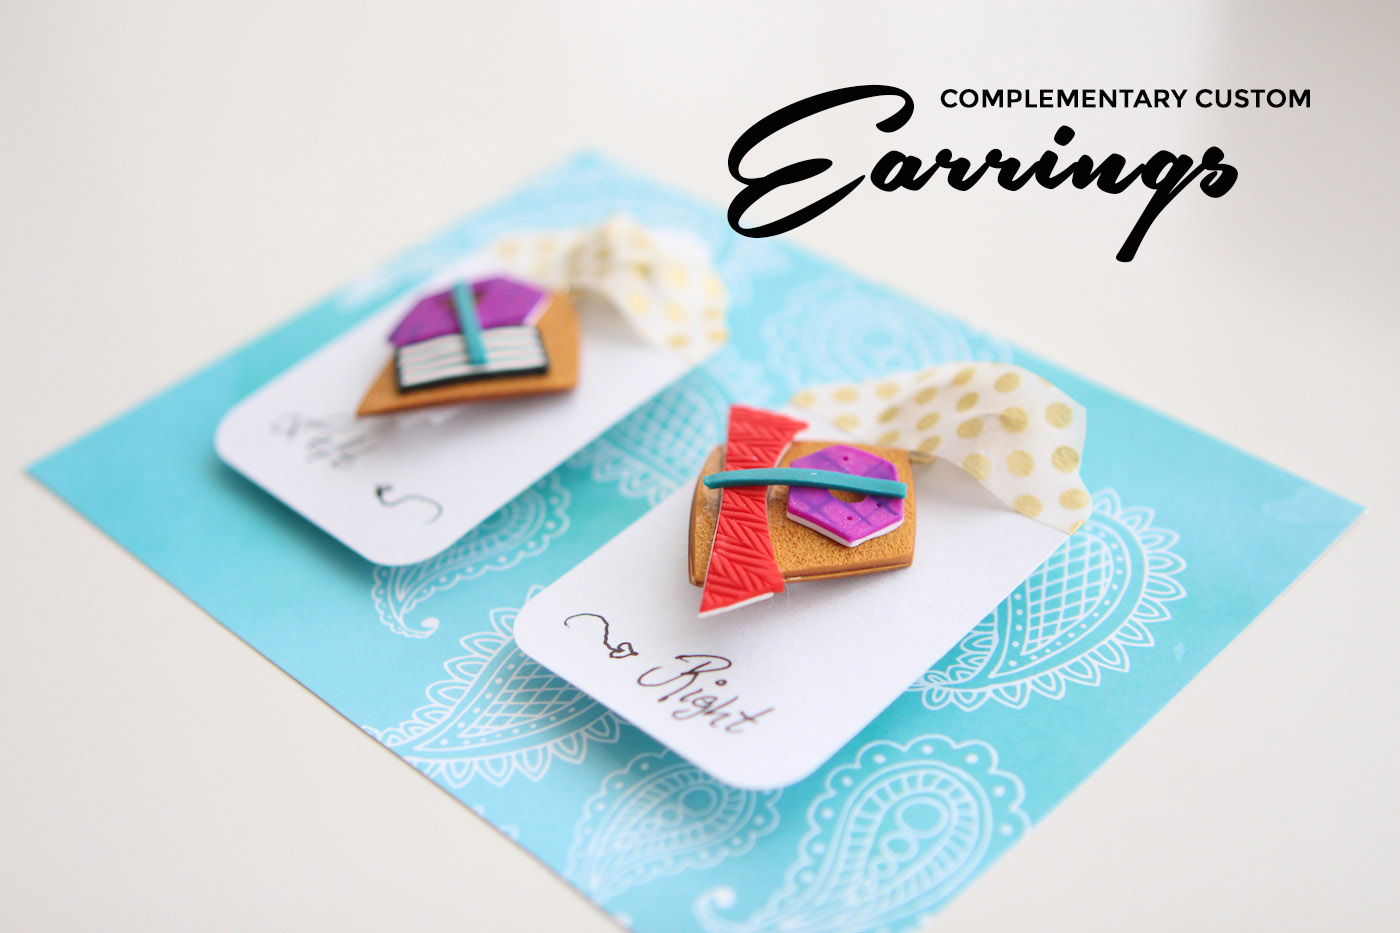
6.Earrings.
The necklace also came with lovely custom earrings.
And voila! That’s how I do it 😉
What do you think? Do you have any questions that are more specific about the process? Did you enjoy anything in particular? If you are an artist, how do you do it?
I would LOVE to read your thoughts/comments/questions in the comment section below.
Stay well, stay happy and stay healthy. See you in two weeks !!

Our recent blog posts!
What and Why: The most important questions you need to answer to turn your Art into a Business.
Today I’m going to cover a question that I get asked quite frequently: What is my actual “process” for creating a custom jewelry piece. To answer, […]
Read More ›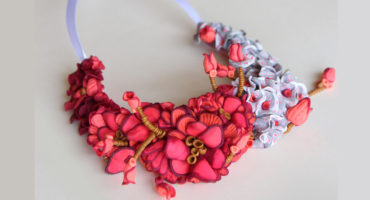
Polymer Clay: A New Generation
Today I’m going to cover a question that I get asked quite frequently: What is my actual “process” for creating a custom jewelry piece. To answer, […]
Read More ›
Today I’m going to cover a question that I get asked quite frequently: What is my actual “process” for creating a custom jewelry piece. To answer, […]
Read More ›
Awesome as usual.
Thank you Lise’. Great to read you! Many hugs your way 🙂
Wow! I don’t think I’ve seen anything like it before. This is truly custom and completely unique.
I have an even deeper appreciation for your work. There is so much more going on than just making something “pretty”.
Congratulations!
Thanks Linda
Good morning Veruschka! Another knock out newsletter! Thank you for putting so much love on your blog. It shows completely. Love this piece. It’s truly a statement and I cannot imagine wearing something more personal and unique. I’m sure she will love it. Has she received it yet? Do you know?
She did! And she looooooooved it! This is why I do what I do 🙂
Fabulous! I love your process. It makes complete sense and really helps. I’m an artist too and have been playing with clay for a while. I would also love to see how you created the buildings on the shard? Is that painted? Beautiful!
Sofia… can’t be sure but I think the buildings where sketched on using fine point markers or she used the a transfer method…at least this is how I get these effects on Polymer…but I’m sure she will answer you soon…
That being said …She, her creativity,vision and workmanship is amazing…I look forward to her Blogs…
Thank you Brenda! I just googled ‘transfer method’. I was not familiar with that polymer clay technique. Thank you for sharing that with me. I’ve been working with polymer only for a year or so. So much to learn! but because of you, I just learned something new. How nice of you 🙂
Hi Sofia (and Brenda!) – To create the buildings I simply carved the turquoise clay using a simple carving tool and a ruler. Then I baked it, and afterwards filled the carved lines with red clay. Makes sense?
Thanks so much for your comments, Brenda. You’re so lovingly supportive. I really appreciate that.
Sofia – Hope this helps 🙂
Amazing!!! I can see the engineer in you come out in this fabulous work of art……be proud and continue to explorer, expand and beautify the world with your ART!!
Lots of love and best wishes
This is stunning. How you were able to create a composition based on such loose and difficult themes is just amazing! I love your thinking. I read that you are an engineer in your profile. This becomes quite obvious in your process.